
Crochet Turtle Pattern
Here’s one of my most popular patterns: how to make a crochet turtle! I made this plushie to be simple, quick to make, and turtle-ly awesome for beginners or more experienced crocheters looking for a fast project to make in roughly an hour.
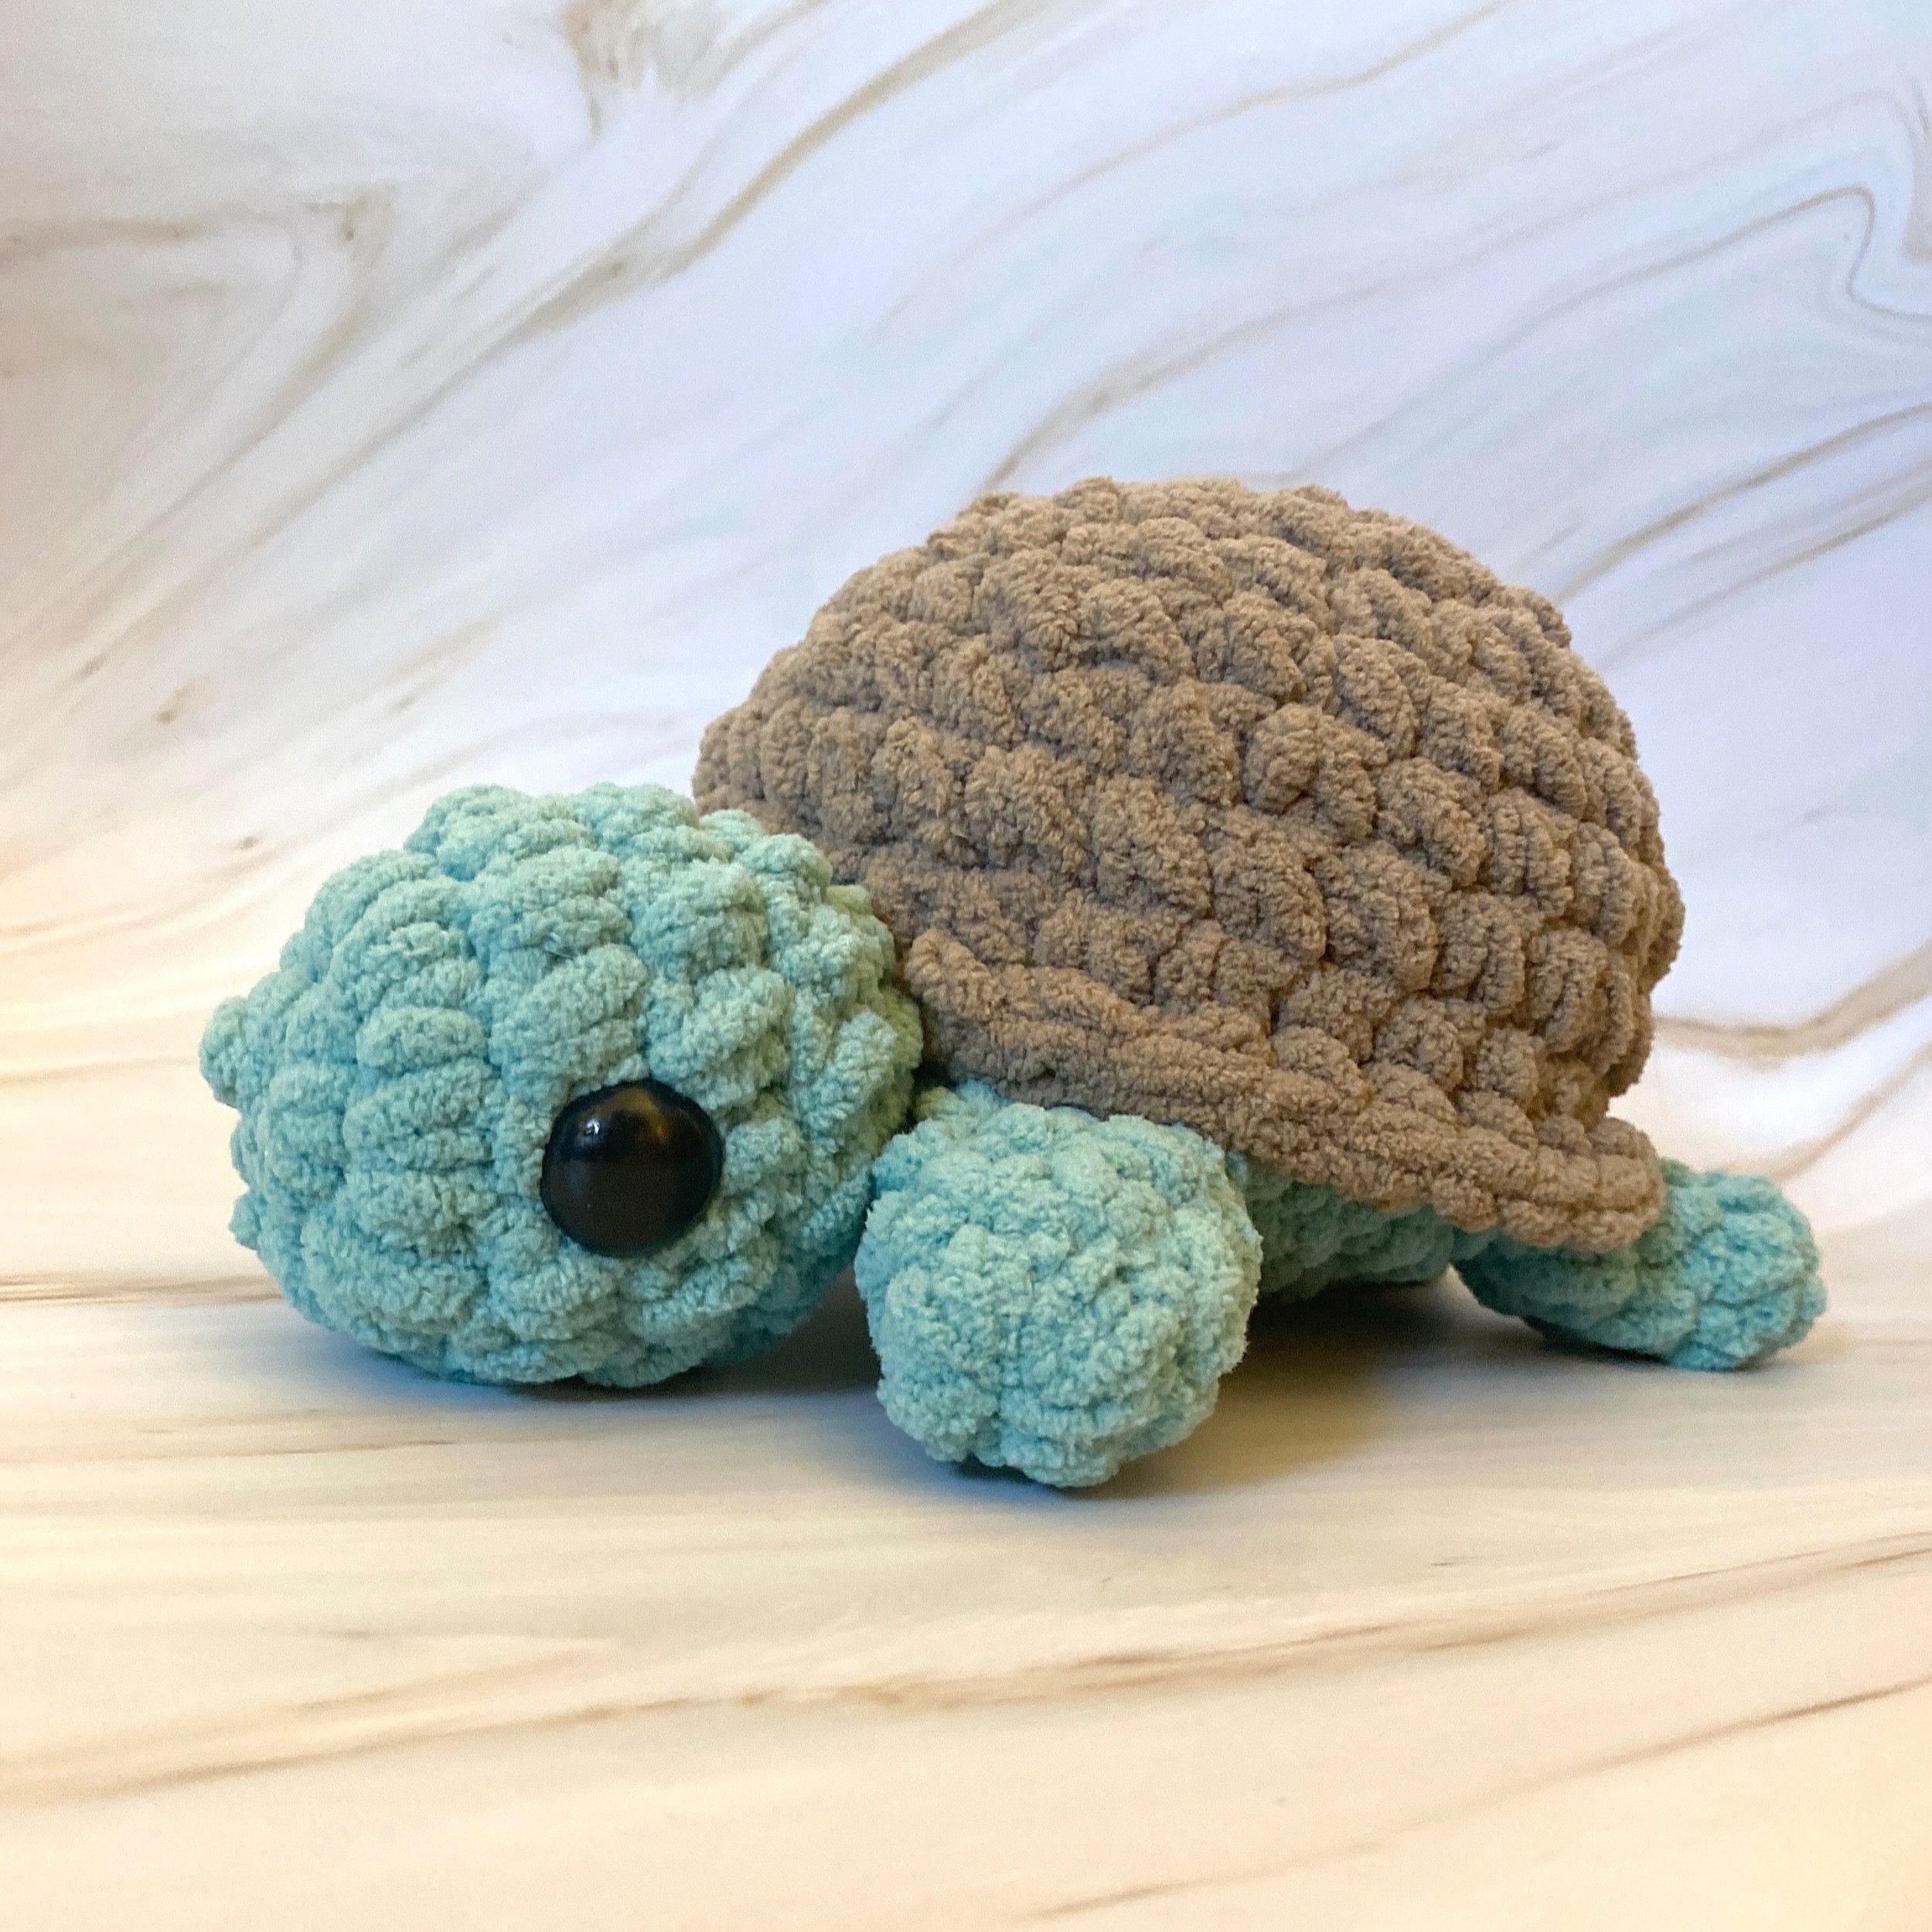
Here’s the written pattern:
Terms of Use:
Please do not copy, sell, or duplicate (to distribute) the contents of this crochet pattern in any format without permission. If you’d like to share this pattern, I’d really appreciate it if you could share where to find this blog post as this helps me continue to make free patterns for you!
What you do with the finished plushies you make is solely your responsibility.
You may sell the plushies you make using my patterns, but I’d greatly appreciate pattern credit to The Mary Jay.
Skills and Abbreviations (In U.S. terms)
MR = Magic Ring (Magic Circle)
SC = Single Crochet
INC = Increase
DEC = Decrease (or I recommend the Invisible Decrease)
FLO = Front Loop Only
BLO = Back Loop Only
FO = Fasten off
R = Round/Row
Change Color
Materials:
Disclosure: The following links to the materials are affiliate links, which means I may earn a small commission at no extra cost to you if you make a purchase through them. Your support means a lot and helps me continue to create free patterns for you!
Super Bulky Weight Yarn (#6) in Green and Brown (or the colors of your choice)
The yarn I used was either from Bernat Blanket or Bernat Baby Blanket in the shades: Misty Jungle Green and Sand (or Baby Sand).
You can find most of the other materials on my Amazon storefront.
7 mm Crochet Hook (or a similar hook size)
Two 18 mm Safety Eyes (WARNING:Safety eyes can be choking hazards and are not recommended for crochet plushies made for young children, pets etc.)
Stuffing
Yarn Needle
Scissors
Stitch Markers (Optional)
Pins (Optional)
Please note that the above materials are recommendations based on what I used to make the turtle in the sample photo. Feel free to switch up the yarn, eyes, or hook size based on what you have available or your preference.
If you are using a different yarn or hook size, don’t forget to make sure that the yarn and hook size work well together. For amigurumi, it is often recommended to use a hook size that is 1-2mm smaller than the recommended hook size on the yarn label for tighter stitches and less holes in your project. However, different crocheters have their own preferences on hook size and you are welcome to follow your own preference.
Body:
Using Brown
R1 7 SC in a MR
R2 [INC] x 7 (14)
R3 [SC, INC] x 7 (21)
R4 21 SC (21)
R5 [2 SC, INC] x 7 (28)
R6-9 28 SC (28) 4 Rounds
R10 In FLO, 28 SC (28)
Change Color to Green
R11 In BLO of R9, 28 SC (28)
(If you are following along with the video tutorial, I wrote R11 as a continuation of R10 . This is why R12 is called R11 in the video and so on. The actual steps in the pattern do not change besides the way I wrote the round numbers.)
R12 [2 SC, DEC] x 7 (21)
R13 [SC, DEC] x 7 (14)
Start stuffing the shell
R14 [DEC] x 7 (7)
FO with a long tail for sewing.
Finish stuffing.
Use the leftover yarn tail to sew the body closed.

Head:
Using Green
R1 7 SC in a MR
R2 [INC] x 7 (14)
R3-5 14 SC (14) 3 Rounds
R6 [DEC] x7 (7)
Attach the eyes between rounds 3 and 4 on different sides of the head.
FO leaving a long tail for sewing.
Tail:
Using Green
R1 4 SC in a MR
R2-3 4 SC (4) 2 Rounds
FO leaving a long tail for sewing.
Legs (Make 4):
Using Green
R1 6 SC in a MR
R2-4 6 SC (6) 3 Rounds
FO leaving a long tail for sewing.
Assembly:
If you need more help with how to attach your pieces or need a visual, please visit my video tutorial at timestamp: 44:29
Head
Add stuffing to the head.
Sew the head onto the body where the top half of the head overlaps with the brown of the shell and the bottom half overlaps with the green belly of the body.
Tail
Do NOT stuff the tail. Pinch the opening together, so that it’s flat
Sew it directly across from the head between rounds 10 and 11 of the body (where the brown meets the green).
Legs
Do not stuff the legs. Pinch the opening together for each leg piece, so that they’re flat
Sew two of the legs onto each side of the turtle’s head. They should also be sewn in between rounds 10 and 11 of the body (where the brown meets the green).
Sew the last two legs onto each side of the tail. They should also be sewn in between rounds 10 and 11 of the body (where the brown meets the green).
Once again, if you need a visual or more help with the assembly portion, please visit my video tutorial.

Congratulations! You did it! Let me know what you named your turtle in the comments! If you have any questions or find any mistakes in this pattern, please don’t hesitate to let me know!
I love seeing the plushies that ya’ll make with my patterns! Follow and tag my socials!
Instagram, Tik Tok, YouTube: @themaryjay
Thank you for following my pattern!

I’ve also released some free mods for this turtle as well! You can find them (including how to make this witch turtle) here.
Here’s another free pattern!
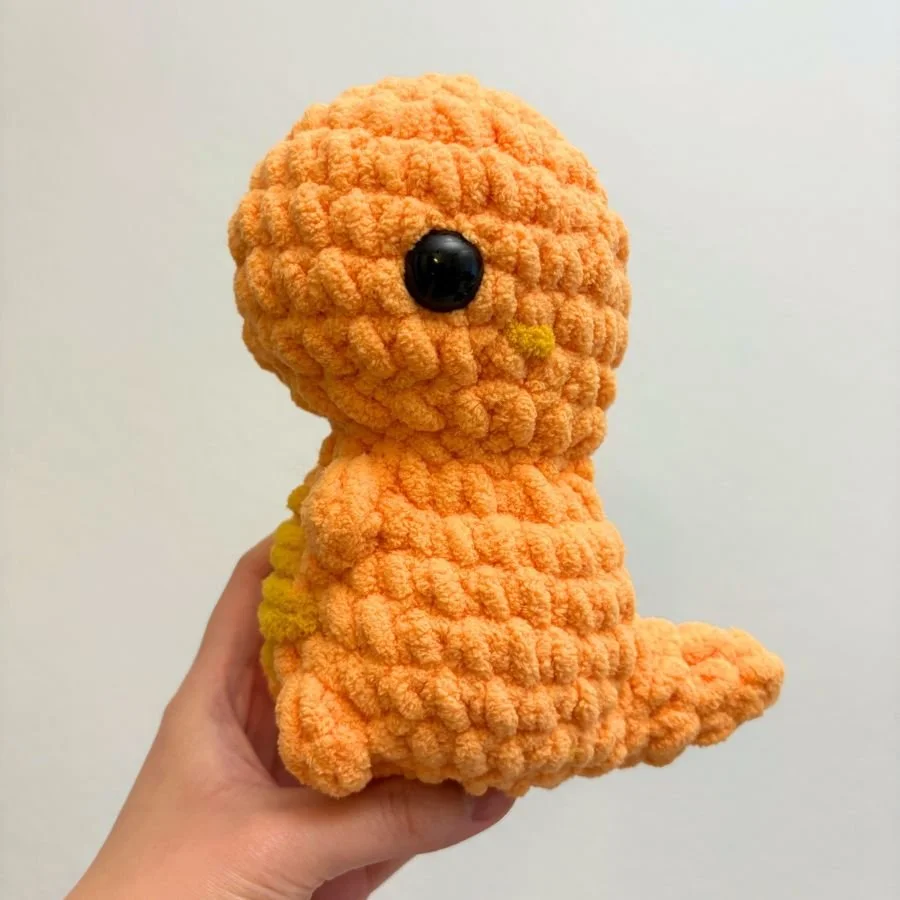
Find the free T-rex pattern here!
Find more free patterns here!
You can also find more patterns in my shop or on my Patreon!