
Little Witch Hat and Wizard Hat Crochet Pattern
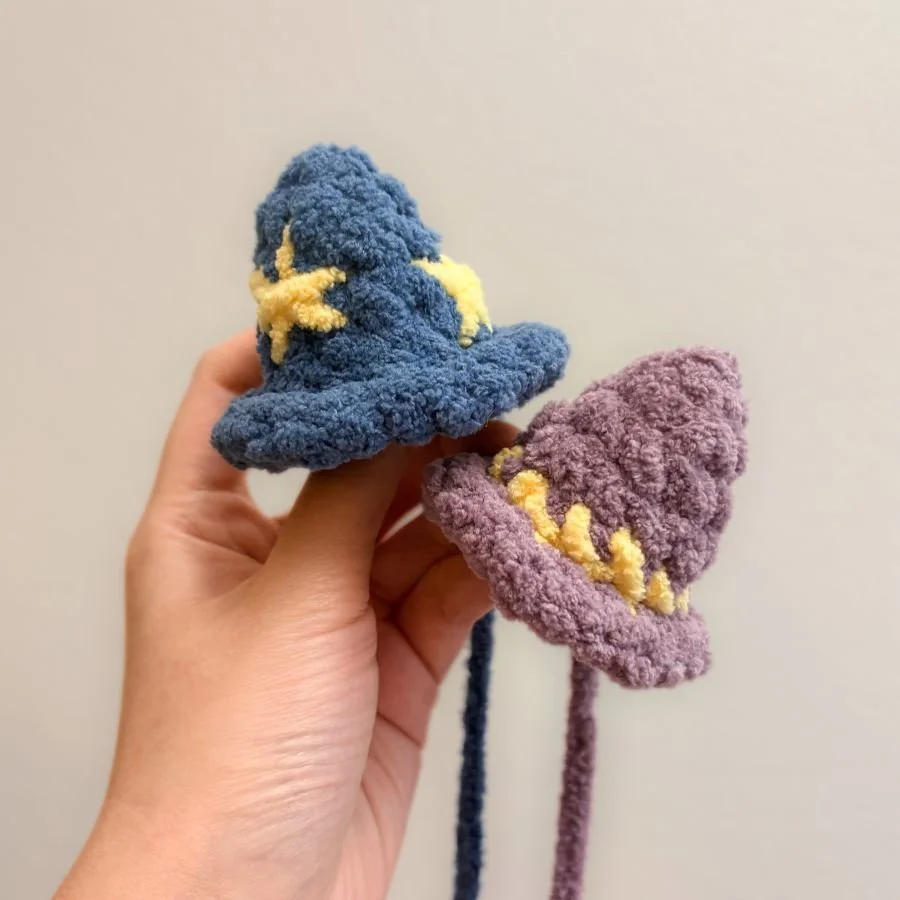
Top off your plushie with a little more magic by adding a witch or wizard hat! You can also make these hats as their own standalone projects. Here’s how to crochet both hats!
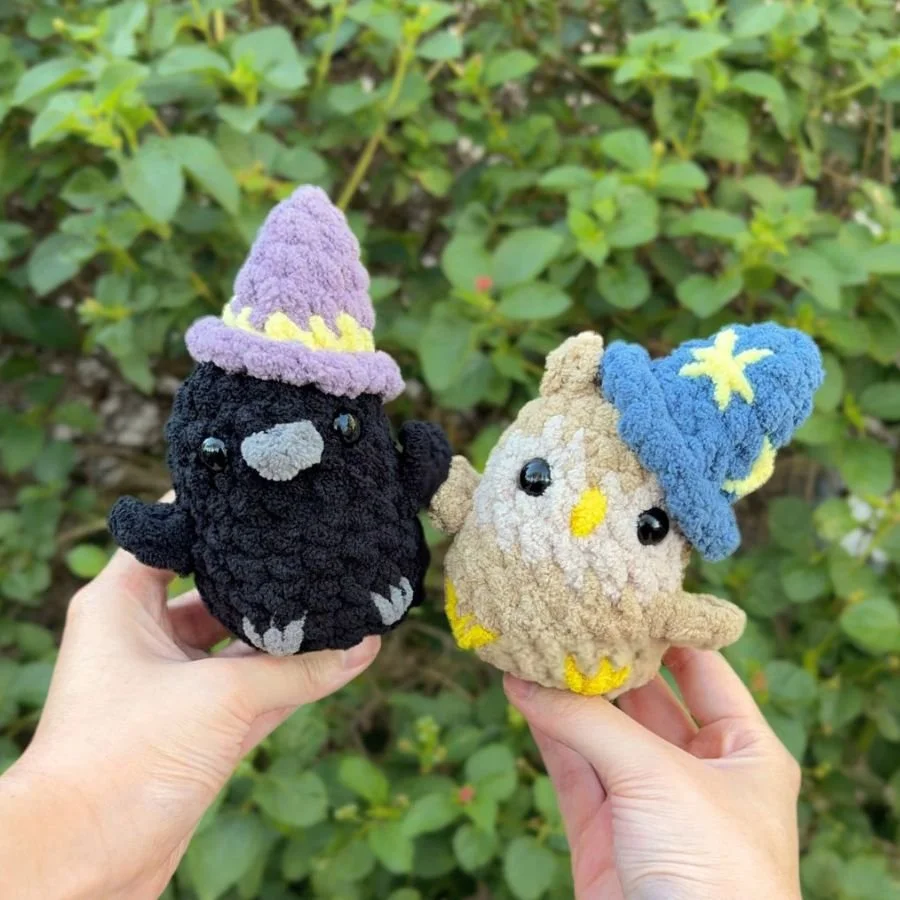
These hats were designed to go with the birds in the little no-sew bird series, but you can also use this pattern to make little crochet hats for other similarly sized plushies or as little keychains, ornaments, earrings etc. (Note: For earrings, you may want to size the yarn and/or hook down to make them smaller! )
If you’re making the hat as their own standalone project, weave in the ends instead of sewing the hats onto the plushie.
So let’s get into the pattern!
A PDF version of this pattern is also available on Patreon.
Unless otherwise indicated, this pattern is designed to be crocheted in continuous rounds (or spirals).
Terms of Use:
This crochet pattern is designed by me (The Mary Jay). Do not copy, sell, duplicate (to distribute) the contents of this crochet pattern in any format without permission.
If you’d like to share this pattern, please only do so by linking to this blog post or sharing where to find its original source. Do not claim the pattern as your own or copy any part of the pattern to post, share, or publish anywhere else without written permission.
You’re absolutely welcome to sell the plushies you make using this pattern provided that you give pattern credit to The Mary Jay (and/or @themaryjay). I’d also super appreciate if you’re able to include where to find this pattern (www.themaryjay.com) when possible.
Respecting these terms helps me to continue creating and offering free patterns like this to you, and I truly appreciate your support!
p.s. If you post your plushie, tag me @themaryjay on Instagram, Tik Tok, YouTube etc. I’d love to see it and hype you up!
Skills and Abbreviations (In U.S. terms)
MR= Magic Ring (Magic Circle)
SC= Single Crochet
SL ST= Slip Stitch
INC= Increase (2 SC in the same stitch)
FLO= Front Loop Only
CH= Chain
FO= Fasten off
R= Round/Row
Materials:
(Based on what I used to make the hats in the sample photos)
Disclosure: The following links to the materials are affiliate links, which means I may earn a small commission at no extra cost to you if you make a purchase through them. Your support means a lot and helps me continue to create free patterns for you!
Super Bulky Weight Yarn (#6) in Purple (for the witch hat), Blue (for the wizard hat), and Yellow
I used Premier Basix Chenille Brights in shades Dusty Lilac, Denim, and Banana
5.5 mm Crochet Hook (from Clover Amour) or the same hook size that you used for the bird
You can find most of the other materials on my Amazon storefront.
Scissors
Yarn Needle
Stuffing, Pins, Stitch Markers (Optional)
Witch Hat:
Using Purple
R1: 4 SC in a MR (4)
R2: [INC] x 4 (8)
R3: [3 SC, INC] x 2 (10)
R4: [4 SC, INC] x 2 (12)
Change color to Yellow.
R5: [5 SC, INC] x 2 (14)
To help even out the jog, SL ST into the first stitch, but do not count it as a stitch. The first stitch of the next round should still be made in the same stitch.
Now let’s make the brim of the hat. Change color to Purple.
R6: CH 1, In FLO: [SC, INC] x 7 (21)
SL ST into first stitch and FO (or Invisible Fasten Off) leaving a long tail for sewing (or weave in ends if not adding the hat to a plushie).
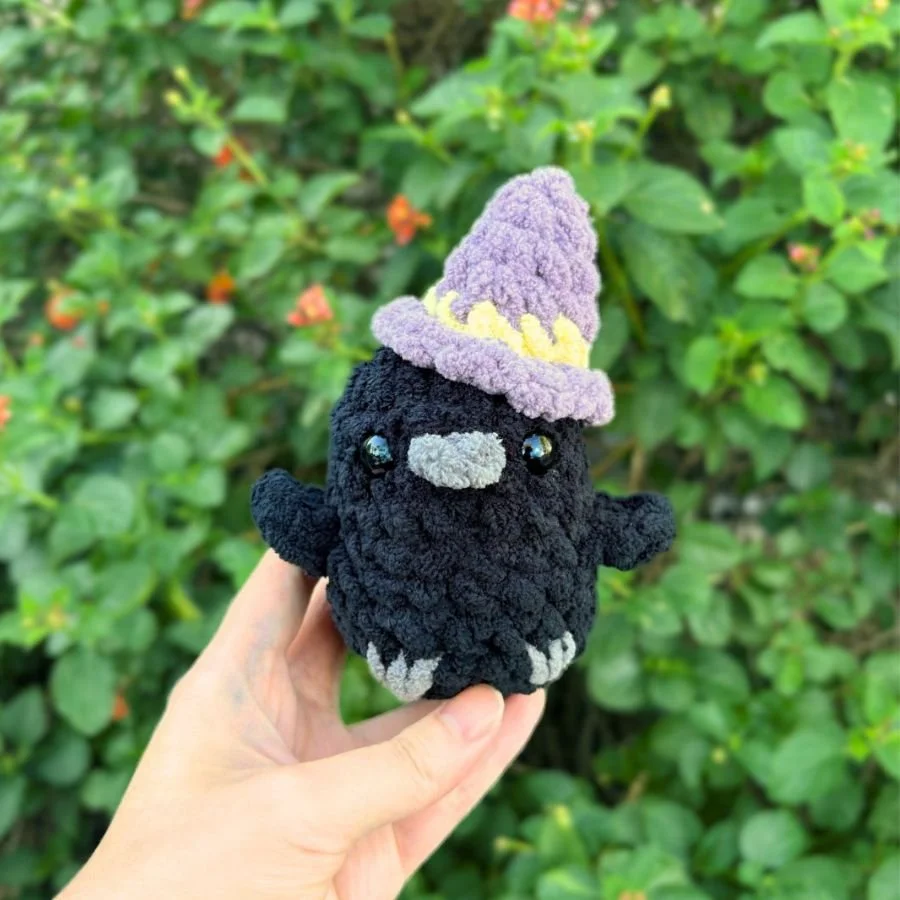
If adding the hat to the raven (as pictured):
Don’t forget that you can find the free raven pattern here.
Optional: Lightly stuff the hat.
Making sure that R6 is flaring out to form the brim of the hat, sew along the brim to attach the hat to the top of the bird’s head (from R2 on one side of the head through R4 on the other side of the head if you’d like it tilted to the side as pictured.)
Wizard Hat:
Using Blue
R1: 4 SC in a MR (4)
R2: [INC] x 4 (8)
R3: [3 SC, INC] x 2 (10)
R4: [4 SC, INC] x 2 (12)
R5: [5 SC, INC] x 2 (14)
To help even out the jog, SL ST into the first stitch, but do not count it as a stitch. The first stitch of the next round should still be made in the same stitch.
Now let’s make the brim of the hat.
R6: CH 1, In FLO: [SC, INC] x 7 (21)
SL ST into first stitch and FO (or Invisible Fasten Off) leaving a long tail for sewing (or weave in ends if not adding the hat to a plushie).
Using Yellow, embroider stars around the hat by sewing a vertical straight line around 2 to 3 rounds long followed by two diagonal straight lines crossing over it. Repeat to embroider more stars.
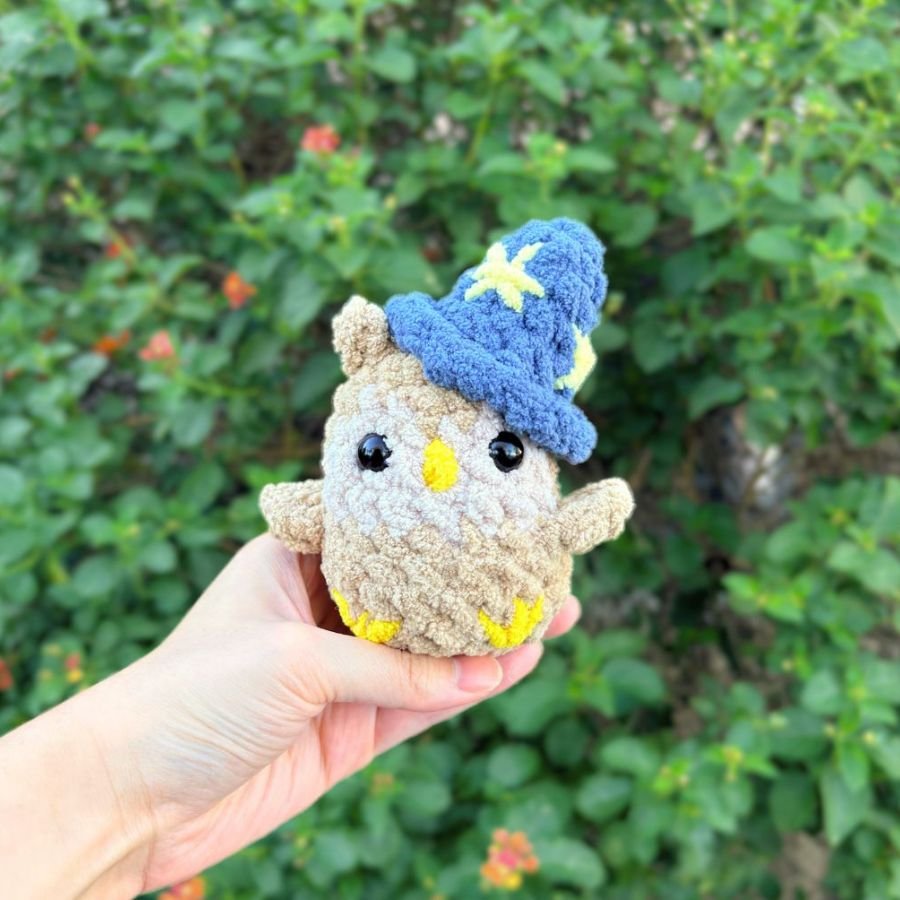
If adding the hat to the owl (as pictured):
Don’t forget that you can find the free owl pattern here.
Optional: Lightly stuff the hat.
Place the hat over one of the ears. Making sure that R6 is flaring out to form the brim of the hat, sew along the brim to attach the hat to the top of the bird’s head.
Thank you so much for following along!
If you enjoyed this pattern, don’t forget that you can subscribe to my mailing list to receive updates on new patterns straight to your inbox.
Please feel free to share the link to this post or where to find it with other crocheters. Every share helps support my art, and allows me to continue creating free patterns and resources for you.
If you have any questions or find any mistakes, please don’t hesitate to contact me,
I love seeing your work! Follow and tag my socials! Instagram, Tik Tok, YouTube: @themaryjay if you post your plushie!
Ready for your next make?
Find more free patterns here!
You can also find more patterns in my shop or on my Patreon.