
Little Owl Crochet Pattern (No sew!)
If you’re looking for another adorably mini, no-sew project, owl bet this will be a hoot! Here’s how to crochet a little owl.
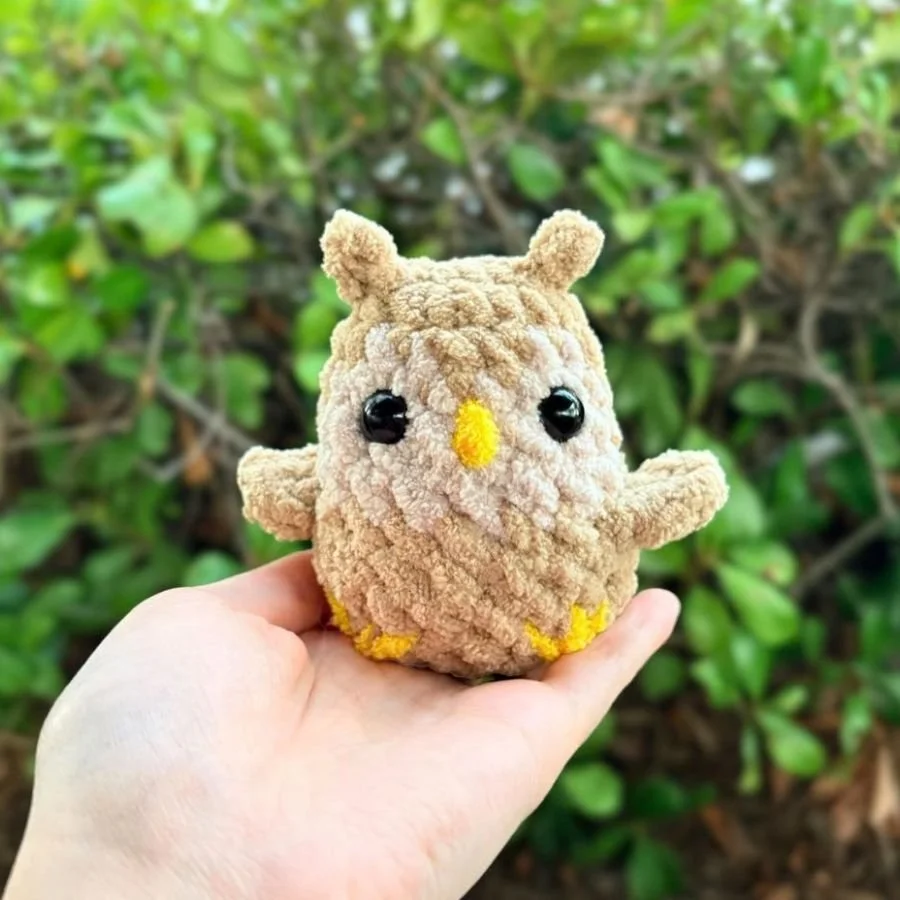
This is the fourth bird in the no-sew little bird series!
Like the eagle, phoenix, and raven, you can crochet this little owl as an ornament, a keychain, a pocket buddy, a desk buddy, a quick make for markets/shops, gifts, or just a no-sew mini project for yourself.
So let’s get into the pattern!
A PDF version of this pattern is also available on Patreon.
Unless otherwise indicated, this pattern is designed to be crocheted in continuous rounds (or spirals).
Terms of Use:
This crochet pattern is designed by me (The Mary Jay). Do not copy, sell, duplicate (to distribute) the contents of this crochet pattern in any format without permission.
If you’d like to share this pattern, please only do so by linking to this blog post or sharing where to find its original source. Do not claim the pattern as your own or copy any part of the pattern to post, share, or publish anywhere else without written permission.
You’re absolutely welcome to sell the plushies you make using this pattern provided that you give pattern credit to The Mary Jay (and/or @themaryjay). I’d also super appreciate if you’re able to include where to find this pattern (www.themaryjay.com) when possible.
Respecting these terms helps me to continue creating and offering free patterns like this to you, and I truly appreciate your support!
p.s. If you post your plushie, tag me @themaryjay on Instagram, Tik Tok, YouTube etc. I’d love to see it and hype you up!
Skills and Abbreviations (In U.S. terms)
MR= Magic Ring (Magic Circle)
SC= Single Crochet
SL ST= Slip Stitch
HDC= Half Double Crochet
DC= Double Crochet
INC= Increase (2 SC in the same stitch)
DEC= Decrease
FLO= Front Loop Only
BLO= Back Loop Only
CH= Chain
FO= Fasten off
R= Round/Row
Slip Knot
Change Color
Bonus Skills Explained:
Turn= Flip your work to crochet the row in the opposite direction.
Standing Single Crochet= Start by making a slip knot and placing it on your hook. Then insert your hook into the indicated stitch/placement and make a SC as usual (pull the yarn through the stitch, yarn over and pull the yarn through both loops on the hook.)
Pull up a loop= Insert your hook into the indicated stitch/placement. Place the working yarn on your hook and pull it through, creating a loop on your hook.
Note: You can also choose to make a slip knot to pull through instead of just the working yarn for more stability.
Materials:
(Based on what I used to make the owl in the sample photos)
Disclosure: The following links to the materials are affiliate links, which means I may earn a small commission at no extra cost to you if you make a purchase through them. Your support means a lot and helps me continue to create free patterns for you!
Super Bulky Weight Yarn (#6) in Brown, Beige, Yellow
Approximately 20 yards of Premier Basix Chenille Brights in Brown (shade: steel cut oats), 2.5 yards in Beige (shade: mushroom), and scrap yarn for the yellow (shade: lemon)
5.5 mm Crochet Hook (from Clover Amour)
You can find most of the other materials on my Amazon storefront.
Two 14 mm Safety Eyes (Warning: Safety eyes can be choking hazards and are generally not recommended when crocheting plushies for young children/pets. You can replace the “safety eyes” with an alternative.)
Stuffing
Scissors
Yarn Needle
Pins & Stitch Markers (Optional)
p.s. If you’ve been following my little bird series, you might notice the listed hook size is 0.5 mm larger than what I used for the eagle! I switched hook brands and the 5.5 mm works up to be around the same size (if not, sometimes smaller) than my old 5mm hook. If you’re making a set, I definitely recommend using the same hook size for both birds (unlike me!)
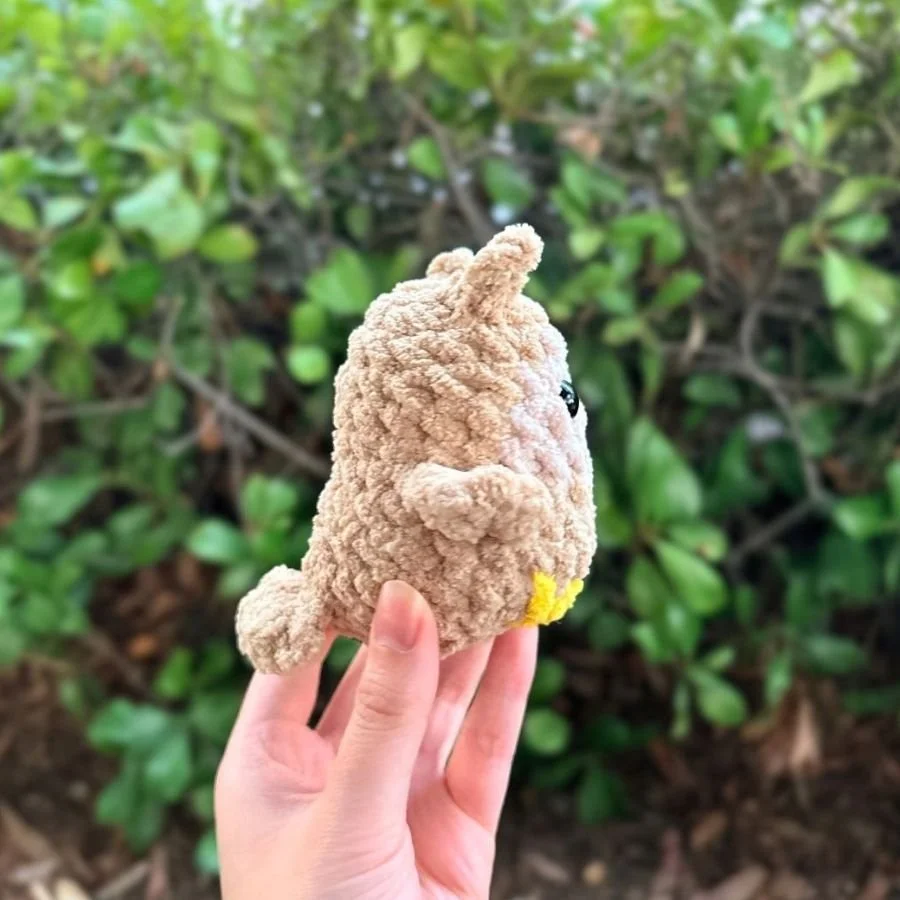
Base (Head & Body):
Using Brown
R1: 6 SC in a MR (6)
R2: [INC] x 6 (12)
R3: [SC, INC] x 6 (18)
In the next few rounds, we’ll be changing colors between Brown and Beige.
R4: Continue working in Brown: 6 SC. In Beige: 2 SC. In Brown: 2 SC. In Beige: 2 SC. In Brown: 6 SC (18)
R5-7: Continue working in Brown: 5 SC. In Beige: 8 SC. In Brown: 5 SC (18) 3 Rounds
R8: 4 SC. Tip: Place a stitch marker into the back loop of the next stitch to make it easier to find later. Then in the FLO of that next stitch, make [SL ST, HDC, DC, CH 1, DC, HDC, SL ST] all in that one stitch. 8 SC. Tip: Place a stitch marker into the back loop of the next stitch to make it easier to find later. Then in the FLO of that next stitch, make [SL ST, HDC, DC, CH 1, DC, HDC, SL ST] all in that one stitch. 4 SC (30)
In the previous round (R8), the stitches worked in the FLO (aka the stitches written in brackets [ ]) form the wings of the bird. In this next round, do not crochet in these stitches that form the wings. Instead, when you reach each wing, crochet in the back loop that was left unworked in the previous round (where we placed the stitch marker).
R9: 2 INC, 2 SC, [1 SC in the BLO of R7 under the wing and where we placed the stitch marker], 8 SC, [1 SC in the BLO of R7 under the wing and where we placed the stitch marker], 2 SC, 2 INC (22)
Attach the eyes between R5 and R6 about 4 stitches apart with each eye centered to each triangle shape on the face. Add stuffing and continue stuffing as you go.
R10-11: 22 SC (22) 2 Rounds
For the rest of the body, [SC, DEC] and repeat until you only have 8 stitches left.
FO leaving a tail for sewing. Finish stuffing. Use the yarn tail to sew the plushie closed.
Ears:
Using Brown
The ears are crocheted directly onto the head between R2 and R3 with the inner side of each ear roughly lined up with each eye. A picture reference for the next 3 steps can be found below.
Insert your hook between R2 and R3 of the head above an eye. Pull up a loop.
CH 3 and then SL ST into the first chain.
Insert your hook into the next stitch between R2-3 moving towards the back of the head and make a SL ST.
FO and weave in ends.
Repeat on the other side to make the second ear.

Picture Reference: How to crochet an ear
Tail:
Using Brown
The tail is crocheted directly onto the back of the body. To do this, start with a slip knot on your hook. For a picture reference, you can refer to the photos for the tail in the eagle pattern.
R1: Between R10 and R11, insert your hook into the back of the bird and make 3 SC that are centered on the back of the bird (3).
R2: CH 2 and Turn,
In the first stitch: DC, SL ST,
In the second stitch: 2 DC
In the third stitch: SL ST, DC, CH 1, SL ST (8)
FO and weave in ends.
Feet:
Using Yellow, embroider the feet onto R11 and R12.
To embroider each foot, start by sewing a horizontal line between R10 and R11 that’s about two stitches long and roughly lined up to one of the eyes.
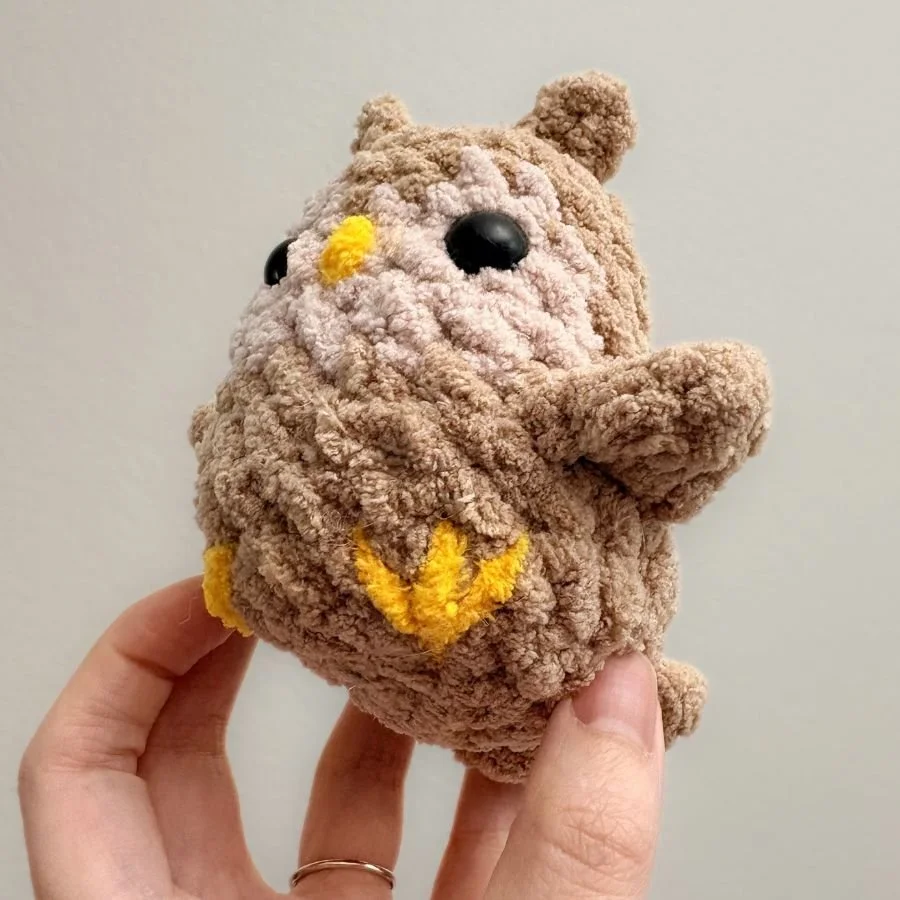
From inside of the plushie, bring the yarn down to exit two rounds below the center of the line. Loop the yarn around that first horizontal line and pull it down to create a “v-shape.”
Then loop the yarn around one more time to create a line down the middle of the “v-shape.”
p.s. Alternatively, you can sew three lines that all meet at the same point at the bottom if that’s easier.
Beak:
Using Yellow
Using Yellow, embroider the beak by sewing a vertical line onto R6 between the eyes.
Start between R5 and R6, then bring the yarn down one round. Repeat to loop the yarn around 3 or 4 times to create more definition.
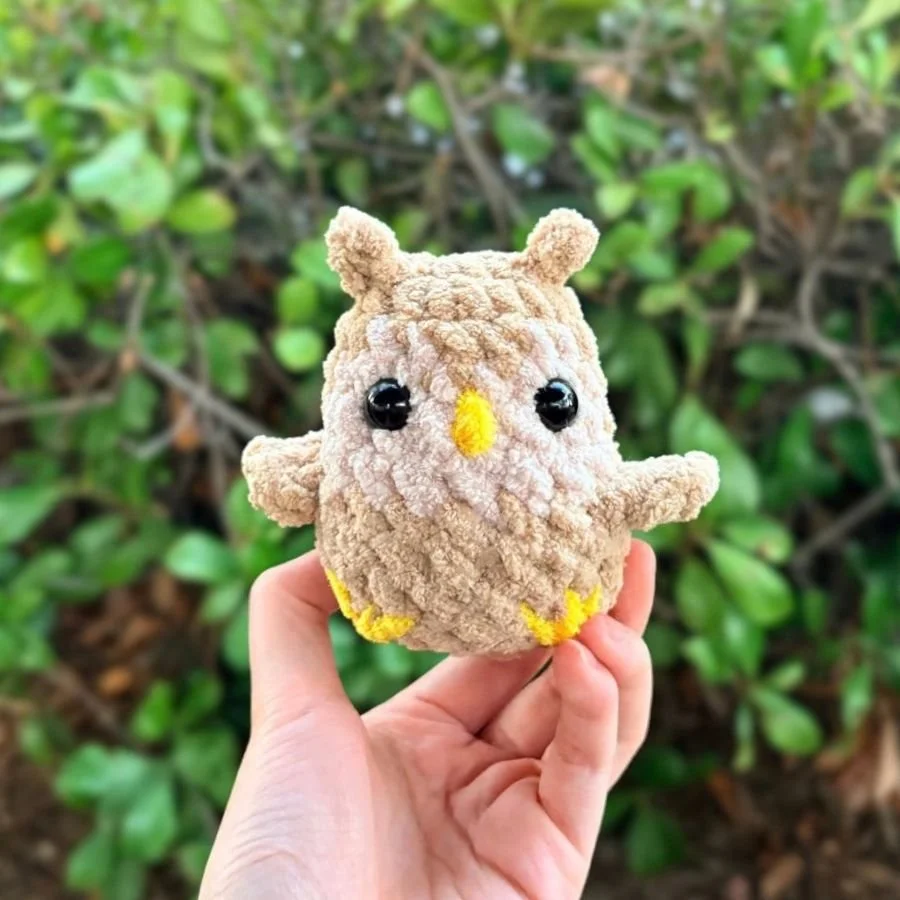
Congratulations! You did it!
Thank you for following along with my pattern and taking the time to crochet a little owl!
If you enjoyed this pattern, don’t forget that you can subscribe to my mailing list to receive updates on new patterns straight to your inbox.
Please feel free to share the link to this post or where to find it with other crocheters. Every share helps support my art, and allows me to continue creating free patterns and resources for you.
If you have any questions or find any mistakes, please don’t hesitate to contact me,
I love seeing your work! Follow and tag my socials! Instagram, Tik Tok, YouTube: @themaryjay if you post your plushie!
Ready for your next make?
Find more free patterns here and more no-sew patterns here!!
You can also find more patterns in my shop or on my Patreon.