
How to Make a Pom Pom with Your Hand
So soft and fluffy, pom poms are a fun way to add some extra texture to your projects. And the best part? You don’t need any special tools — just yarn, your hands, and a pair of scissors.
Here’s how to make a pom pom!
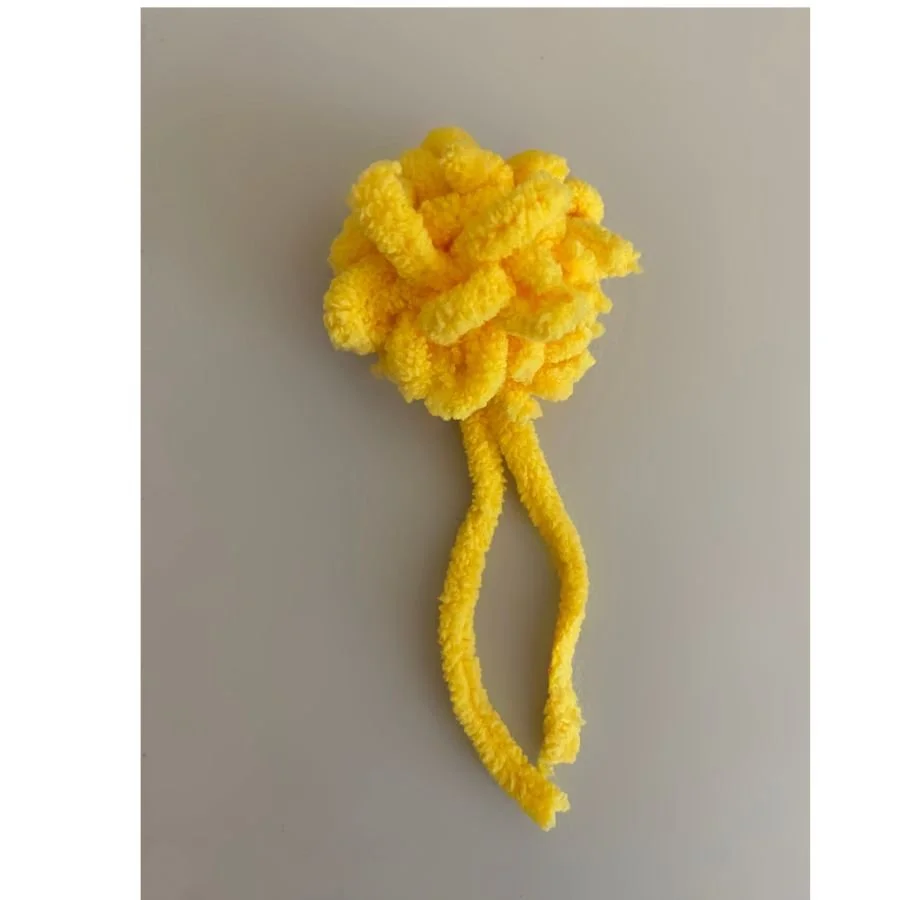
I usually use Bernat Blanket for my crochet projects, so that’s what I used to create my pom pom. Before this, I've never really seen anyone use yarn this thick for a pom pom, so I was a little skeptical about how well it’d work. But in the end, I really love the result and texture.
You can still use this method to make pom poms with other kinds of yarn, but there are a few types to avoid when choosing your yarn, especially for thicker, fluffier yarns.
I would stay away from yarns that shed, are slippery, break easily, or fall apart when cut. A slippery yarn or one that snaps easily will make it harder to tie the pom pom tightly. A yarn that sheds may cause the ends of the pom pom to fall apart.
Some yarns with unique textures or elastic yarns might also be difficult to work with.
Here’s how to make a pom pom:
There are many methods to make a pom pom, but here’s how I make mine.
Safety Notice: Pom poms can be a choking hazard and may not be suitable for projects intended for babies, young children, or pets.
Sometimes, yarn strands can get pulled out if tugged on and some pom poms loosen over time. While I go over some tips I’ve seen to help make it more secure (under step 2), personally, I use pom poms only for display projects or gentle use. Please use them at your own discretion.
Step 1:
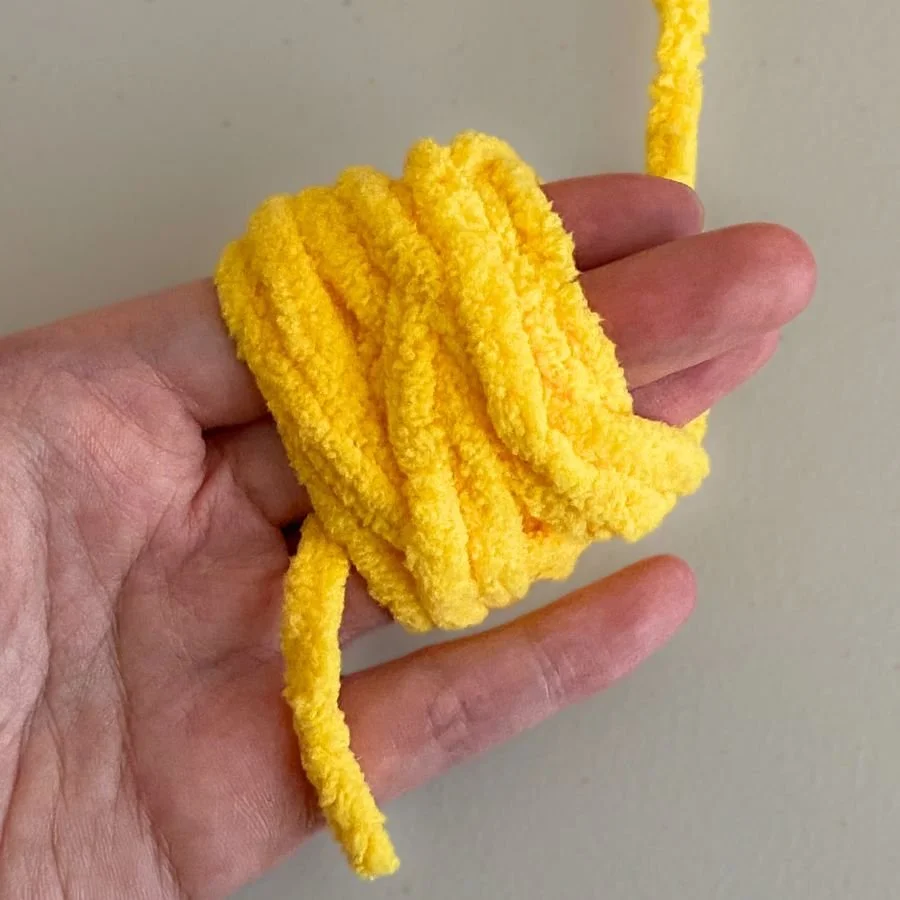
Wrap the yarn gently around three fingers multiple times. Be careful not to wrap the yarn too tightly. You want to be able to slide it off easily later, and you don’t want to hurt your fingers or cut off circulation.
The more times you wrap the yarn, the denser and fuller your pom pom will be.
With thicker yarns like the Size 6 blanket yarn that I’m using, I find that I don’t need to wrap the yarn as many times.
But for thinner yarns, you may need to wrap the yarn more times to create a fuller, fluffier pom pom.
Step 2:
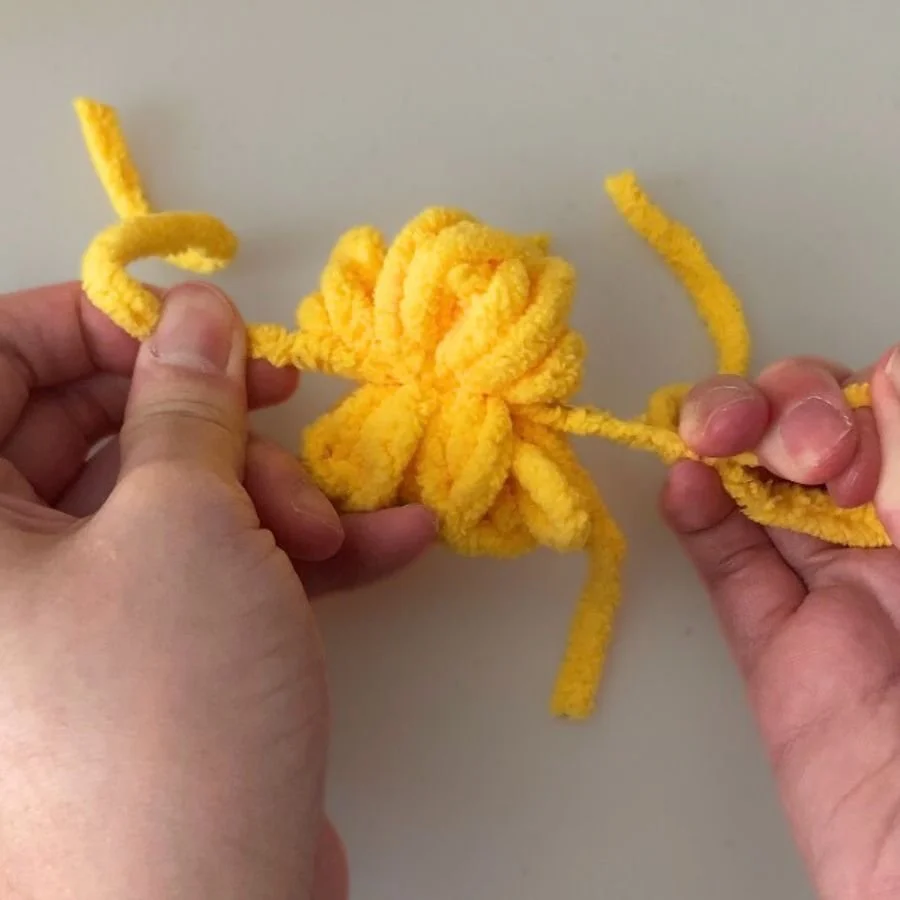
Carefully slip the yarn off your fingers. Tie a long strand of yarn as tightly as you can around the center of the pom pom. Make a knot to secure it. Flip it over to wrap the yarn around to the other side and knot it a second time.
The tighter you tie the middle, the more secure it is.
Sometimes, even after tying it as tightly as you can, the yarn strands can still be pulled out. Here are a few tips to help make the pom pom more secure:
Note: These are tips I’ve seen shared by other crafters. While I haven’t personally tried them, I wanted to include them in case they’re helpful or something you’d like to explore.
tighten your knot even more: this tutorial by The Crochet Crowd recommends having someone else hold down the knot for you or tying it again with a second strand to make it more tight (at timestamp 33:45).
add glue in the center: a common tip I’ve seen from other crafters is to add a little glue on the yarn where you are tying the knot (s).
sew down the middle of the yarn: another common tip is to sew down the middle where you are tying the knot and across all the strands.
When I attach the pom pom to a project (like a hat), I usually sew through the middle of the pom pom a few times in different directions and this also helps secure the strands more.
Step 3:
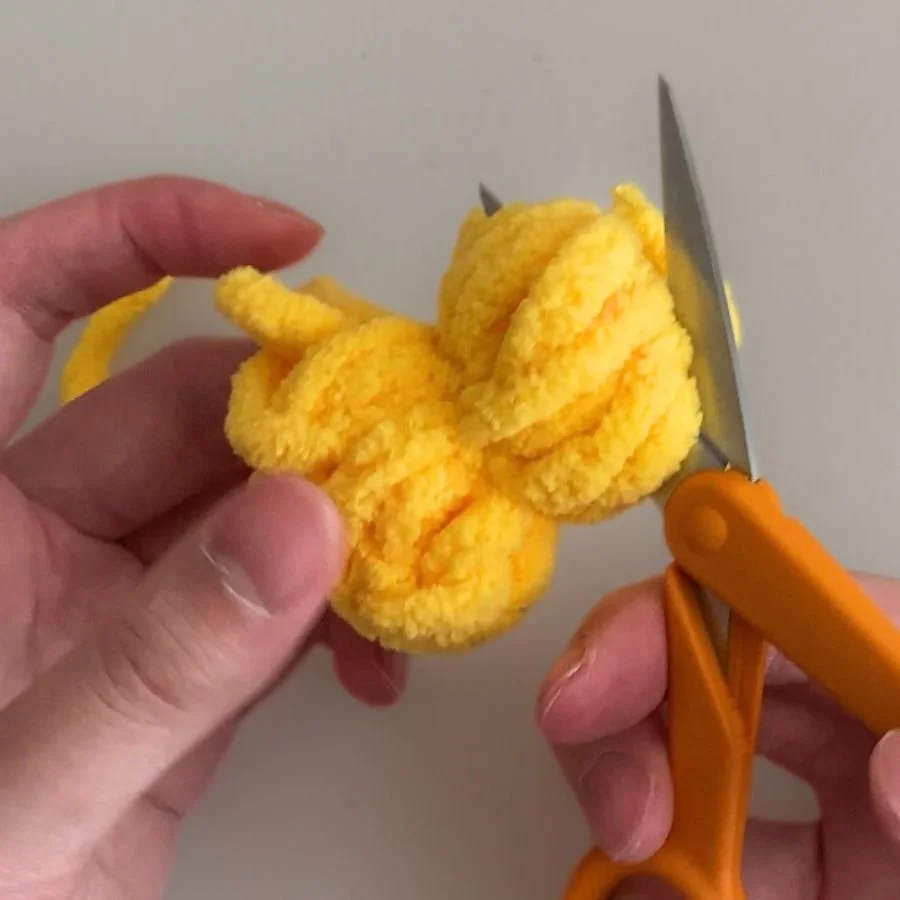
Using scissors, cut open the loops on both sides.
Step 4:
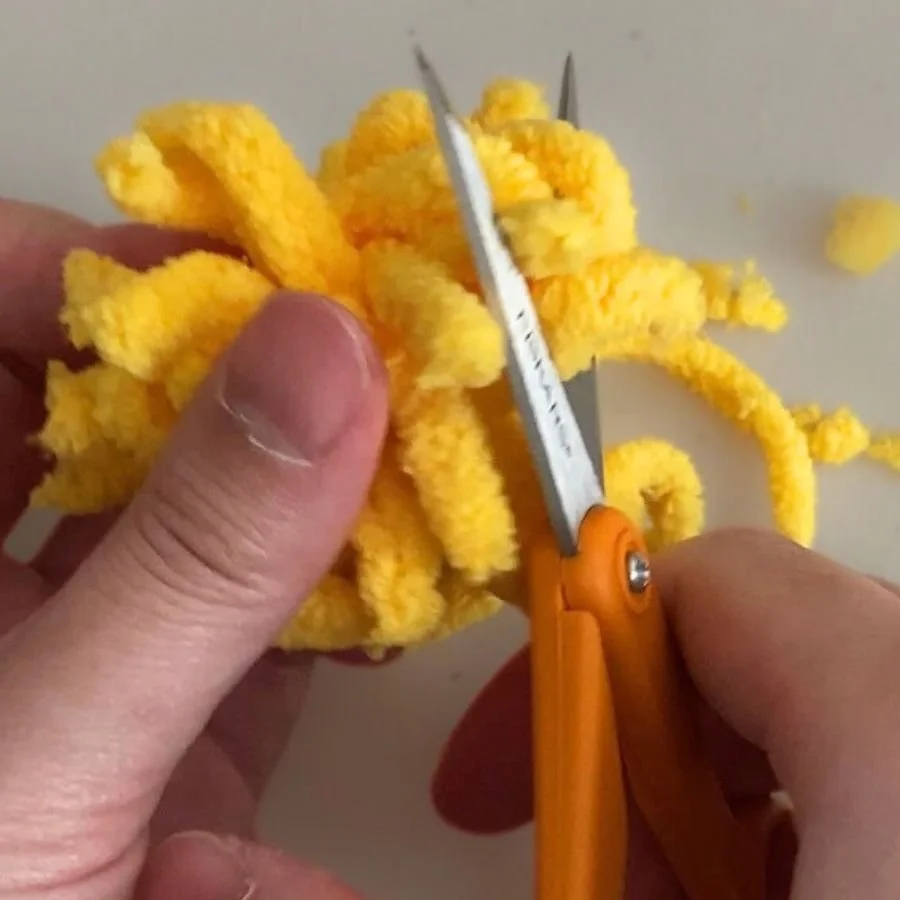
Trim the ends until the strands are uniform and the desired appearance.
But avoid cutting the yarn used to tie the center of the pom pom, so you can use it to sew the pom pom onto your project later.
As mentioned before, I recommend sewing through the middle of the pom pom a few times while sewing it onto your project. This helps to secure the middle even more!
Here’s a cute crochet project to add your pom pom to!
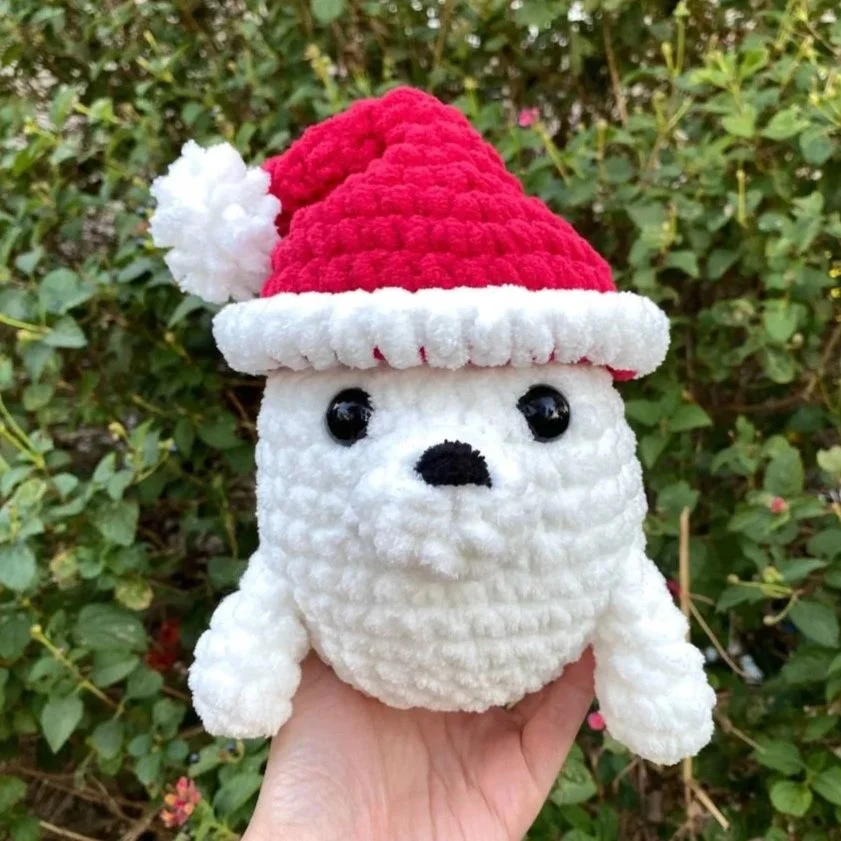
Find the free pattern here!
Find more free crochet patterns here !
You can also find more crochet patterns in my shop or on my Patreon!